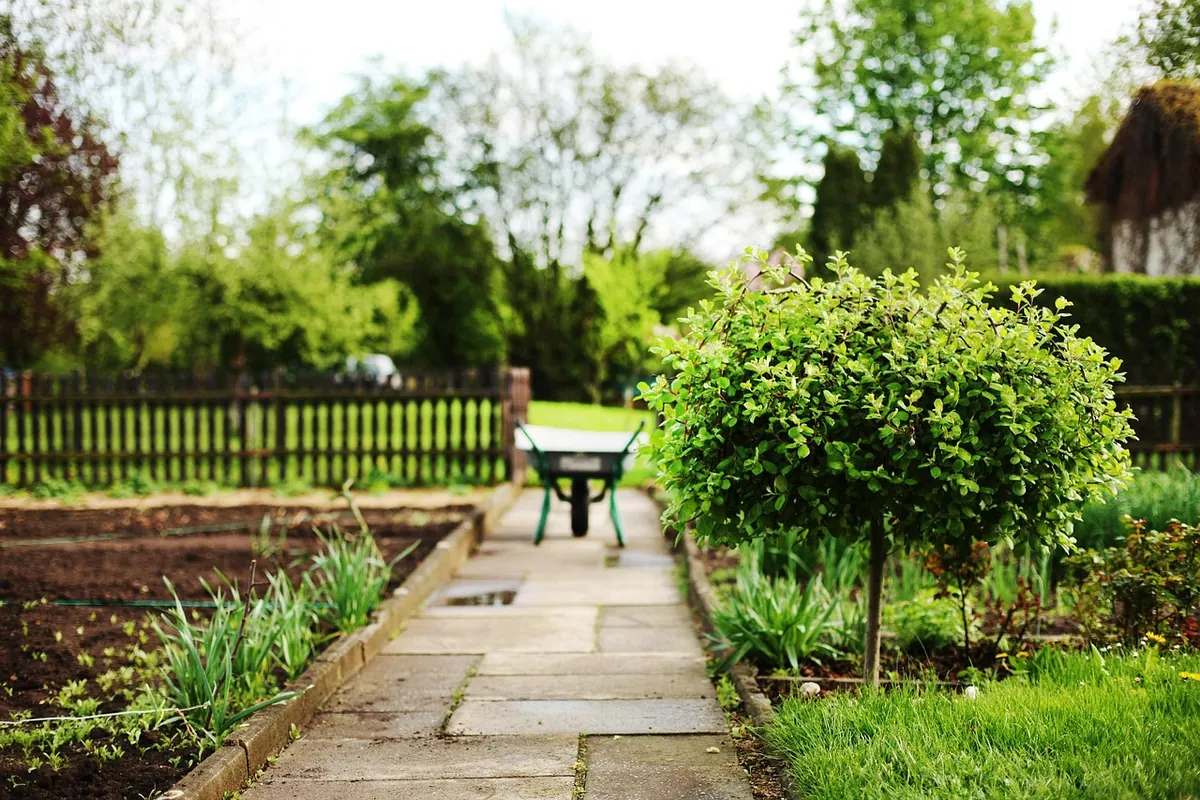
There is a particular kind of disappointment that comes from spending a whole weekend double-digging a bed, only to watch it turn into a paddling pool in November. A no-dig bed sidesteps most of that work and most of that disappointment. You mow the grass short, lay down cardboard, and pile compost and other organic matter on top. Worms, roots and fungal threads do the rest, pulling the layers down and opening the soil without a spade going anywhere near it.
Two days is genuinely enough for a bed of two or three square metres, including the trip to the builders' merchant. What follows is the version that works: sensible dimensions, a real cutting list, an honest look at what it costs, and the mistakes that leave people with a sunken, weedy heap by midsummer.
Vegetables want sun, so pick the brightest open spot you have — six hours a day is a reasonable target for tomatoes, courgettes and beans. Keep the bed within hose reach, because a new no-dig bed needs watering far more often in its first summer than an established one.
Width matters more than length. A bed 1.2 m wide lets you reach the middle from either side without stepping on the compost, which is the whole point: compacted beds sink and stay wet. If the bed will sit against a wall or fence and you can only work it from one side, make it 90 cm. Length is whatever suits your space — 2.4 m is a comfortable standard. Leave paths of 45–60 cm between beds; you will want room for a wheelbarrow.
One caution. Cardboard smothers grass and annual weeds reliably, but it does not defeat bindweed, ground elder or established couch grass. Those will push through within a season. If your chosen spot is riddled with them, either smother the area for a full year first, or accept that you will be pulling for a while.
Edging is optional — a mound of compost holds its own shape — but boards keep everything tidy, stop the pile spreading onto paths, and make it easier to net against pigeons. For a 20 cm high edge:
Use pressure-treated timber, or untreated larch, oak or chestnut if you would rather avoid preservatives. Avoid old painted or creosoted wood, and skip pallet collars unless you know their history. You will also need a knife, a wheelbarrow, a rake, a hose and a drill for pilot holes.
Cardboard is free if you ask nicely. Bike shops, appliance retailers and furniture warehouses produce a steady stream of large plain boxes, and they are usually glad to hand them over. Tape and staples come off easily; glossy printed packaging and anything waxy goes in the recycling instead.
Timber for the edging and a box of screws is a modest outlay, roughly the price of a decent hand tool. The real line item is the fill. A cubic metre of compost is a serious purchase, and this is where buying decisions matter: bulk compost from a landscape or green-waste supplier usually costs a fraction of the same volume in bags, though quality varies, so ask what it is made from and go and look at it if you can.
Prices shift constantly by region, season and supplier, so ring two or three yards for a quote per cubic metre rather than relying on any figure you read online. If the budget is tight, build a smaller bed at full depth instead of a large one that is half filled.
If you are building in autumn, you can stop here: let the winter rain and worms work on the cardboard, then fill the bed in spring.
Fill the frame with a mix rather than a single material. Roughly two-thirds well-rotted manure or green-waste compost, one-third garden compost or leafmould, gives a texture that holds moisture without turning to sludge. Spent mushroom compost is fine as a portion of the mix, but not as the entire fill. Everything should be genuinely rotted — if it still smells of ammonia or you can recognise the straw, it is not ready.
Fill to 20 cm or so, not to the brim. Compost settles by around a tenth in its first season, and you want a few centimetres of freeboard for mulching later. Tread nothing: tip barrowloads at the path edge and pull the material in with a rake.
Rake the surface level, then leave it slightly domed so water runs off the middle rather than pooling. Water the whole thing gently until it is damp right through, then plant straight away. Salad leaves, chard, beans, courgettes and young tomato plants all settle in happily, sending roots down through the softening cardboard into the soil below. Save carrots and parsnips for the second year — fresh, rich compost makes them fork.
Keep the new bed watered in dry spells, especially in the first two months, and pull anything that appears at the edges promptly. From the second autumn onwards, the routine is almost embarrassingly simple: clear spent crops, lay 5 cm of compost or well-rotted manure on the surface each year, and never dig. Worms incorporate it for you, the level slowly rises rather than falls, and the bed gets easier to work with every season.
If a bed does sink, top it up in autumn rather than spring, so it has the winter to settle before you plant. And if you find yourself with half a cubic metre of compost left over, do not build a second bed in a hurry — heap it on the first one and call it a job well done.
Photo: andreas160578 / Pixabay

A practical beginner’s guide to growing vegetables on windy, sun-baked balconies, with pot sizes, compost advice and...

A soil test report is only intimidating until you know which numbers change your decisions. Here's how to read pH,...
A practical guide to deadheading: where to pinch, how to angle the cut, and which flowers to leave alone so seed...

Cultivating beauty in every garden corner.
