
There is a stretch of weeks in early spring when the garden looks like nothing and everything at once: bare soil, swollen buds, a few brave shoots, and a long list of jobs that all seem urgent. This is the point where most of us overdo it. We dig when the ground is still wet, prune the wrong shrub, and shove windowsill seedlings into full sun because the afternoon feels warm. Then we spend the rest of the season working around the damage.
Spring work has a sequence. Beds before tools, tools before cuts, cuts before planting out. Get the order right and the same twelve jobs take less time, not more. Here is the checklist I work from, in the order it actually makes sense to do it.
Start with the beds, because everything else depends on seeing what survived. Pull out dead annual stems, soggy leaf mats pressed against crowns, broken stakes and the plastic labels that cracked over winter. Anything that showed signs of disease last year goes in the council waste, not the compost heap.
What you should not do is tidy everything. Hollow-stemmed perennials, seedheads and the flattened grasses you left standing have been housing overwintering insects. Wait until nights stay reliably around 10°C, then cut the stems down to 10–15cm and stack them somewhere out of the way for a few weeks so anything still inside can leave.
Early spring is the easiest time of year to remove perennial weeds, because the ground is moist and a dandelion or bindweed root comes up in one satisfying piece. Leave it and you will be cutting the same plant back every fortnight until July.
But test the soil first. Take a handful from a spade's depth and squeeze it. If it holds a sticky ball that smears when you rub it, the soil is too wet and you should wait a few days. Working soil in that state destroys its structure and compacts it into something closer to brick. If you have to cross a bed, lay a plank down and walk on that.
Dull bypass pruners crush stems instead of slicing them, and a torn cut is an open door for canker and dieback. Ten minutes with a diamond file now saves you a season of ragged pruning.
Work the file along the existing bevel only — five or six strokes at the angle the manufacturer ground into the blade — and leave the flat side alone. Clean the blades with a wire brush, wipe them with an oiled rag, and put a drop of oil on the pivot. If you are pruning anything that showed disease last year, wipe the blades with rubbing alcohol between plants. A spade edge benefits from the same treatment with a mill file, and a coat of linseed oil on wooden handles stops them splitting.
While the toolbox is open, check the rest of it: cracked pots, split hose washers, snapped bamboo canes, the ball of twine you swore you had.
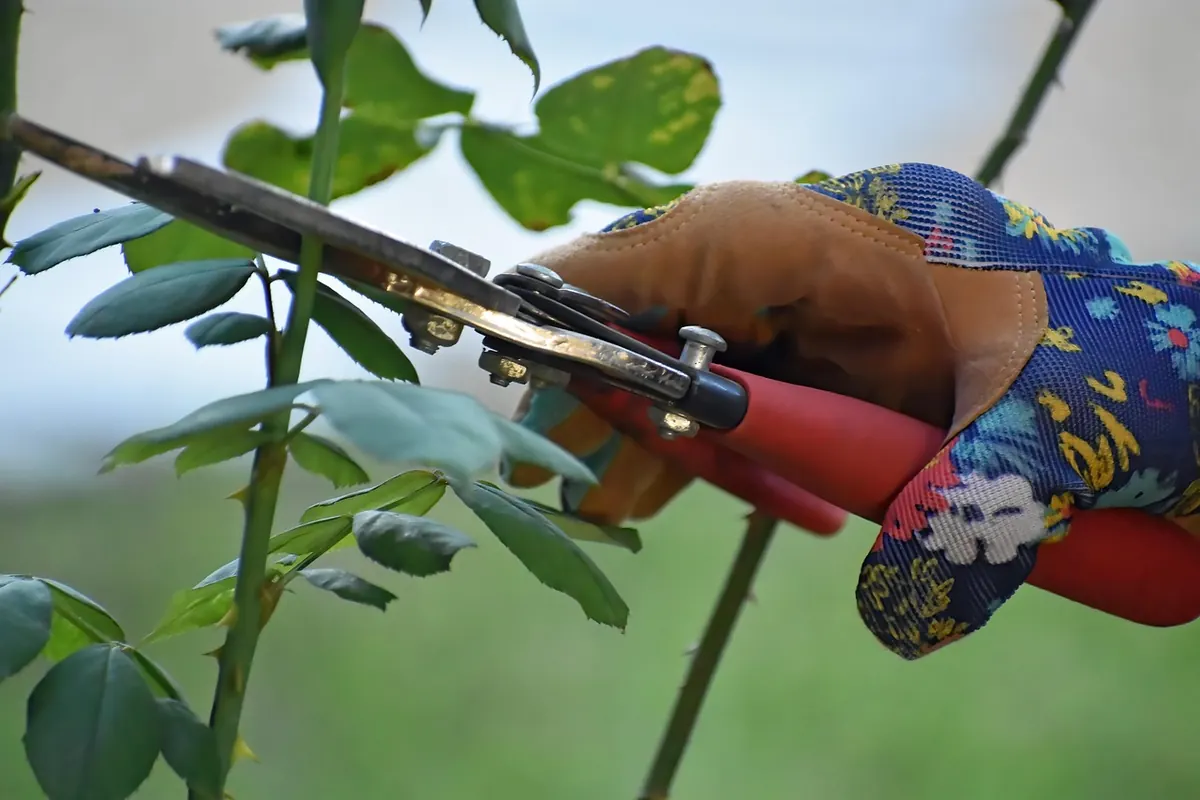
Dormant pruning works because the plant is not spending energy. That window closes the moment buds swell and break, so the rule is simple: finish structural pruning before growth starts, and stop once you see green.
Timing then depends on when a shrub flowers.
For anything thicker than your thumb, use the three-cut method: notch underneath, cut down from above a little further out, then remove the stub back to the branch collar. No flush cuts, no long stubs, and no pruning paint unless you have a specific reason.
Once the beds are clear and the tools are sharp, do the jobs nobody photographs. Spread 2–5cm of compost over the beds and let the worms take it down rather than digging it in. Repair raised bed edges, replace rotten trellis slats and set stakes before the plants that need them are a metre tall and impossible to work around.
Check anything that overwintered in a pot: roots pushing out of the drainage holes, compost shrunk away from the sides, a saucer full of standing water. Refresh the top few centimetres and raise the pot onto feet so it drains.
This is also the moment to divide perennials that flowered poorly or sprawled last year. Lift the clump when new shoots are about 5cm tall, split it with two forks back to back, throw away the woody centre and replant the outer pieces at the same depth they were growing.
Seedlings raised indoors have thin cuticles and no experience of wind. Moving them straight outside on a mild day will scorch the leaves and check their growth for a fortnight.
Give the process seven to ten days. On day one, put them in shade, sheltered from wind, for an hour. Add an hour and a little more sun each day. By day five or six they should manage a full day in light shade, and by day nine or ten they can stay out overnight once nights are comfortably above 10°C. Reduce watering and stop feeding in that final week; slightly leaner plants transplant better. If the forecast drops below about 5°C, or strong wind is coming, bring everything back in. A cold frame does the same job with less carrying — just open the lid a little wider each day.
The last frost date is an average, not a promise, and the coldest night of spring often arrives a week after everyone has planted their tomatoes. Keep fleece, cloches or an old sheet within reach, and check the ten-day forecast rather than the one on the kitchen wall. On the evening before a cold night, water the beds — moist soil holds warmth better than dry — and cover anything in flower or newly planted. Uncover in the morning so the plants do not cook.
Write down what you did and when. Next spring, the checklist gets shorter, because you will already know which shrubs bloom on old wood and which beds dry out first.
Photo: Helena Lopes / Pexels

A practical beginner’s guide to growing vegetables on windy, sun-baked balconies, with pot sizes, compost advice and...

A soil test report is only intimidating until you know which numbers change your decisions. Here's how to read pH,...
A practical guide to deadheading: where to pinch, how to angle the cut, and which flowers to leave alone so seed...


Cultivating beauty in every garden corner.
